How to Use the Stable Diffusion WebUI Extension for Segment Anything Inpainting
Video
Repository
https://github.com/continue-revolution/sd-webui-segment-anything
Introduction
Stable Diffusion WebUI is a powerful tool for content creators and artists who want to perform image inpainting tasks. With the addition of the Segment Anything extension, users can easily integrate segmentation and inpainting, streamlining their workflow. This tutorial will guide you through the process of installing and using the extension with the Stable Diffusion WebUI.
Requirements
- Stable Diffusion WebUI installed
- Segment Anything extension
- Segment Anything model (vit_h, vit_l, or vit_b, depending on your hardware)
Step-by-Step Guide
- Install the Segment Anything extension
Download the extension and place it in the ${sd-webui}/extensions folder. You can use git clone or install it directly from the WebUI.
- Download the Segment Anything model
Choose the appropriate model size (vit_h, vit_l, or vit_b) based on your hardware capabilities. Download the model from the provided link and place it in the ${sd-webui}/models/sam folder. Do not change the model name, as it may cause the extension to fail.
- Launch WebUI and configure settings
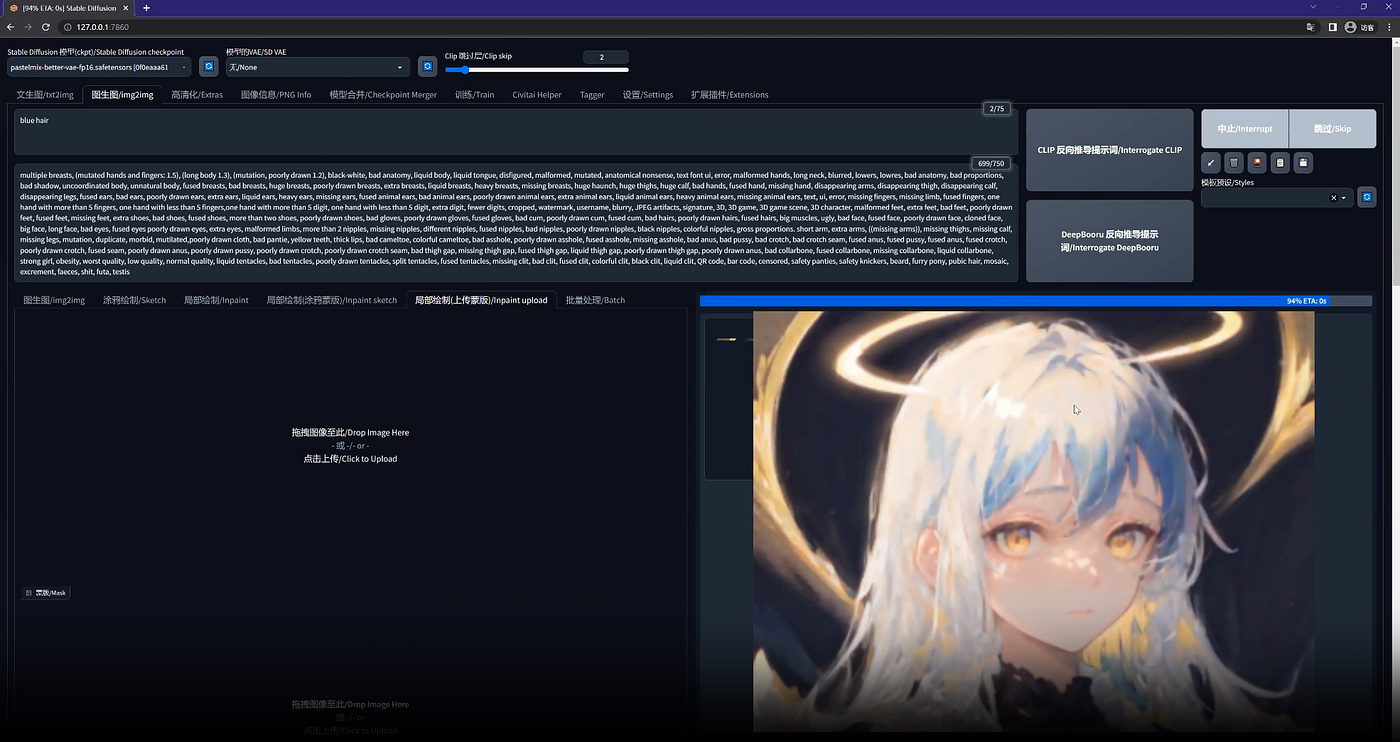
Launch the Stable Diffusion WebUI and switch to the “img2img” mode. Upload the image you want to work with and add prompts directly onto the image. To add positive prompts, use a left click (black dot); for negative prompts, use a right click (red dot). To remove a prompt, left-click on the dot again.
- Preview segmentation
Click the “Preview Segmentation” button to generate a segmented version of your image. Choose your preferred segmentation and check the “Copy to Inpaint Upload” option.
- Update mask settings (optional)
If you want to expand the mask, check the “Expand Mask” option and specify the desired amount. Then click the “Update Mask” button.
- Perform inpainting
Switch to the “Inpaint upload” tab. There’s no need to upload another image or mask — just leave them blank. Enter your prompt, configure the settings, and click the “Generate” button to start the inpainting process.
Conclusion
By following these simple steps, you can easily use the Segment Anything extension with the Stable Diffusion WebUI for efficient image inpainting tasks. Remember to update your WebUI regularly to ensure compatibility and smooth performance. Happy inpainting!